

In Part 1, we showed you the advantages of freezer paper templates with an acrylic ruler.
It works for ANY SHAPE—triangles, hexagons, anything you can draw or print!
- Have as many as you want!
- They’re free! (Spend the money on fabric instead!)
- If you lose one, you can make another one!
- No waiting to start a project!
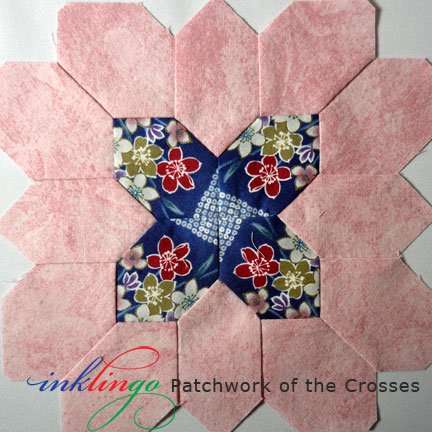
The advantages of FUSSY CUTTING POTC!
I find fussy cutting hexagons for Patchwork of the Crosses (POTC) difficult with acrylic templates because they slide around.
Freezer paper (plus acrylic edge) gives me more control and makes everything go faster. Once you try it, I don’t think you will bother with acrylic hexagons again!
(NOTE This article describes traditional fussy cutting, which makes Swiss cheese of the fabric. Inklingo is also perfect for No Waste Fussy Cutting when you have the right fabric!)
Once you have turned freezer paper templates into acrylic templates with your rulers, you won’t need acrylic shapes for any design.
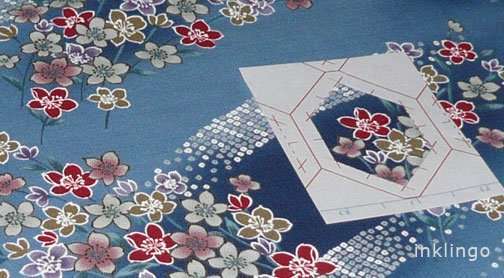
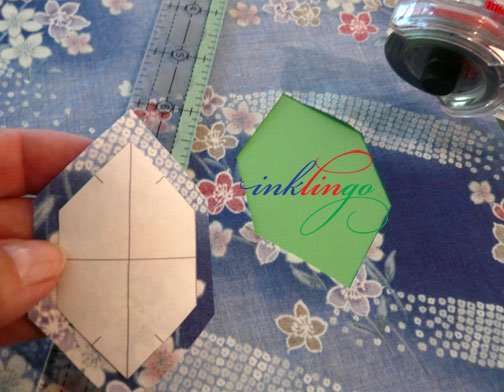
1. Print or draw the shapes on freezer paper or plain paper to make individual window templates (above).
It is an advantage to have several window templates instead of one acrylic hexagon. You will usually need 4 or 8 for POTC and 5 or 10 for Passacaglia and Ballet from Millefiori Quilts and Millefiori Quilts 2.
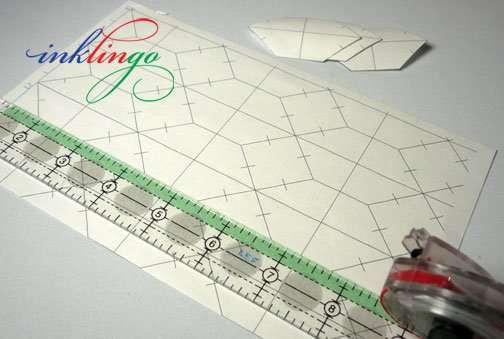
2. Prepare as many FP templates as you need.
(No seam allowances, see Part 1.)
You can use the shape from the window template, print the Inklingo shapes without seam allowances, and rotary cut precision shapes.
ANYTHING you can draw on freezer paper can be used this way!.
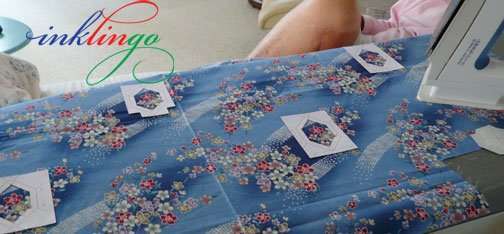
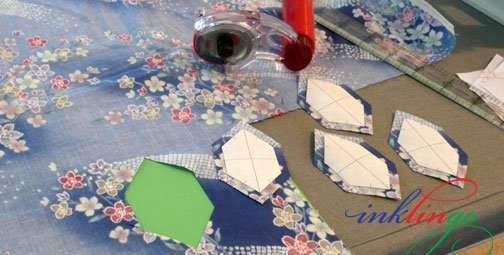
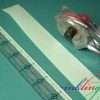
3. Position the window template over the first design with the fabric draped over your ironing board. Find identical designs in the fabric and mark them with additional window templates.
If the window templates are freezer paper, press with a hot, dry iron to hold them in position. (If necessary, use a small piece of tape to temporarily hold the paper templates in position.)
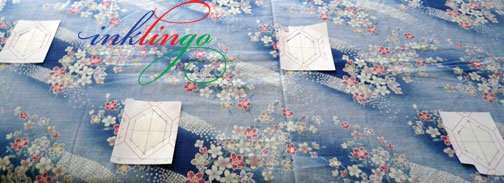
When you see several of them positioned on the fabric, you will get a good idea of the number of repeats available and what will be left for additional sets of identical shapes.
Depending on the design you want to fussy cut, straight grain on two sides may not always be possible. As usual, handle the bias gently and never use steam to press it.

With this fabric, I could see the designs just as clearly from the wrong side, so I placed the fabric on the ironing board on the wrong side.
You won’t always be able to do this, but it is nice if you can if you are planning to use a mechanical pencil to mark the sewing lines.
I find the window more helpful than covering the design with acrylic because I can see exactly where the points and corners fall on each flower.
4. Drop the FP templates into the opening in the window template and touch with a hot, dry iron to hold them in position. Then, you can remove the window templates. They can be used repeatedly.
5. Slide a cutting mat under the fabric on the ironing board and cut.
Add the seam allowance, as described in Part 1.
Hooray! You got better results than you would with an acrylic template, and you did not have to pay for acrylic or wait for an acrylic template to arrive in the mail!
This has many advantages over acrylic templates:
- You have as many templates as you need, not just one hexagon.
- The templates don’t slip the way acrylic does, so you can be sure every hexagon is perfect.
- You choose how wide or narrow to make the seam allowances.
- Optional: Add the sewing lines if you wish. (Part 1)
.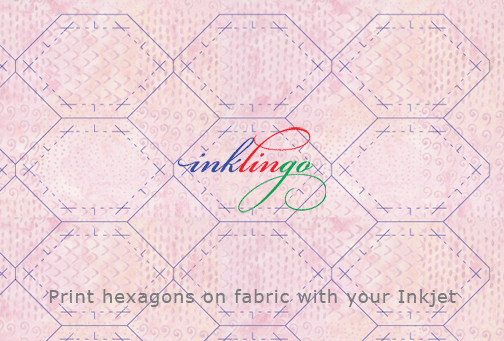
Of course, it is easier and more precise when you print the shapes on fabric with Inklingo and rotary cut several layers at a time.
My first choice is always to print the shapes on fabric. It is faster, easier and more accurate than using any kind of template and you can sew by hand or by machine.
If you can find a fabric suitable for No-Waste Fussy Cutting, you won’t need templates. However, when you do need templates, I recommend freezer paper with an acrylic ruler instead of acrylic templates.

If you would like to skip templates entirely and print the shapes on fabric instead, there are step-by-step instructions and a video on the website’s Beginners Page.
Inklingo quilters spend more time sewing and less time getting ready to sew—and get better results!
Subscribed? You will be first to see whatever is next.

IN PART 3 —FIVE BONUS TEMPLATE TIPS!
Quilting doesn’t have to be as expensive as you think! You’ll get better value for your money when you spend on fabric or a wonderful class experience!
You will not want to bother with acrylic templates once you have used freezer paper.
I would love to see photos of what you are making with Inklingo. You can browse the albums in the Patchwork of the Crosses Facebook Group to see what other Inklingo quilters are sharing.
When you can’t use Inklingo, use freezer paper!
Linda & Monkey
![[]](https://www.inklingo.com/wp-content/uploads/2011/04/inklingo-heart.png)
Thanks, Linda, for another great lesson. Yes, I agree, freezer paper makes the greatest templates and is especially useful for fussy cutting!!
That’s brilliant! An easy way to fussy-cut. I agree that templates are slippery. I like how this method allows you to plot out a few areas at a time before cutting too. Thanks for sharing!